

Part 2: Knitting in the Round — Challenges & Breakthroughs
9th September 2025
PRINT IS NOT DEAD: An Evening of Print Beyond the Page
9th October 2025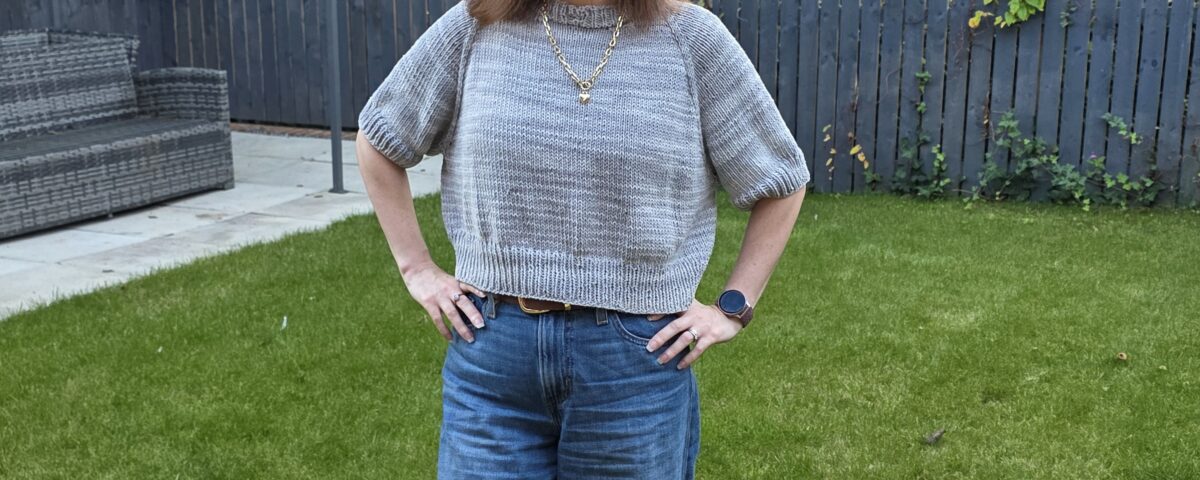
In my last post, I had just separated for the sleeves. It felt like such a relief to finish the yoke, because now it was simply knitting in the round with no increases—just knit stitches all the way. It was wonderfully mindless, but I’ll admit, a little bit boring at times too.
I’d decided I wanted a cropped jumper that I could wear comfortably with jeans. To get the length right, I stopped knitting around three inches shorter than I wanted the final piece to be and then added the rib edge. Swapping to my 4.5mm needles, I worked one plain knit round before starting the ribbing. Just like the collar, it was knit one, purl one, and I kept going until it was about three inches deep—nice and chunky.
Then came the bind-off. Florence’s pattern recommends an Italian bind-off for stretch, but since I was worried the jumper might be too wide, I thought a tighter hem would be fine and just used the standard method. As soon as it was off the needles, I couldn’t wait to try it on—and it looked like a real jumper! The length felt just right, and I knew it would grow a little more once blocked.
Sleeves
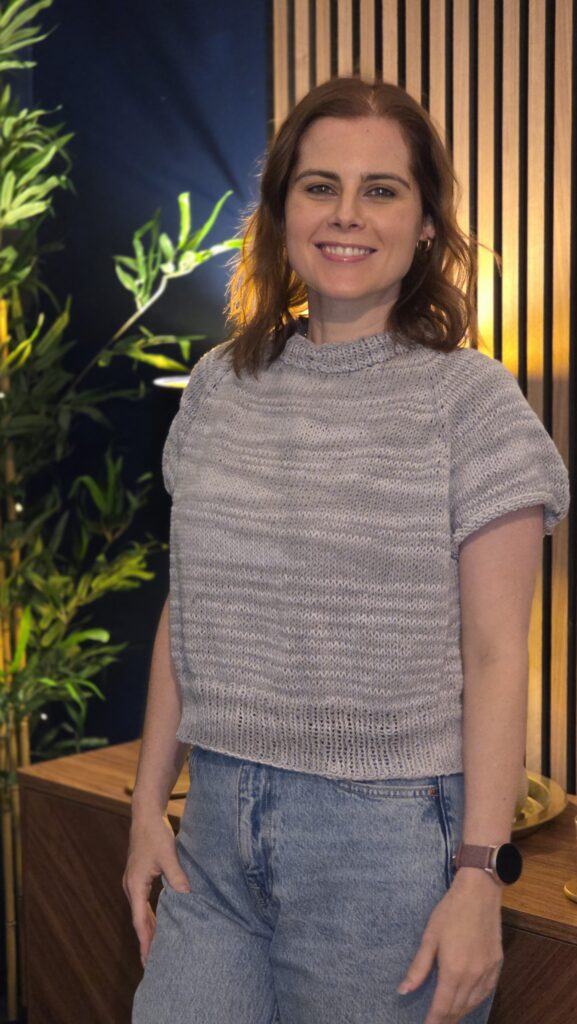
I don’t love long sleeves, so I’d always planned to make mine three-quarter length. This part started with picking up stitches around the armhole—something I’d never done before. I had to pause the video tutorial and rewatch it a few times, but once I got going, it was easier than I expected. Florence suggested picking up a few extra stitches under the arms to avoid holes, then decreasing them in the next round, which worked well.
After that, it was simply knitting in the round until the sleeves were the right length, minus a couple of inches for ribbing. I switched back to my 4.5mm needles, worked the ribbing just like the hem, and bound off. Then repeated the whole thing for the second sleeve.
When I tried the jumper on again, I honestly couldn’t explain the joy I felt. Just two weeks earlier, the only thing I’d ever knitted was a Sophie Scarf, and now I had a whole jumper. Completing this had been a 2025 goal, and I’d already ticked it off the list.
Blocking & Finishing
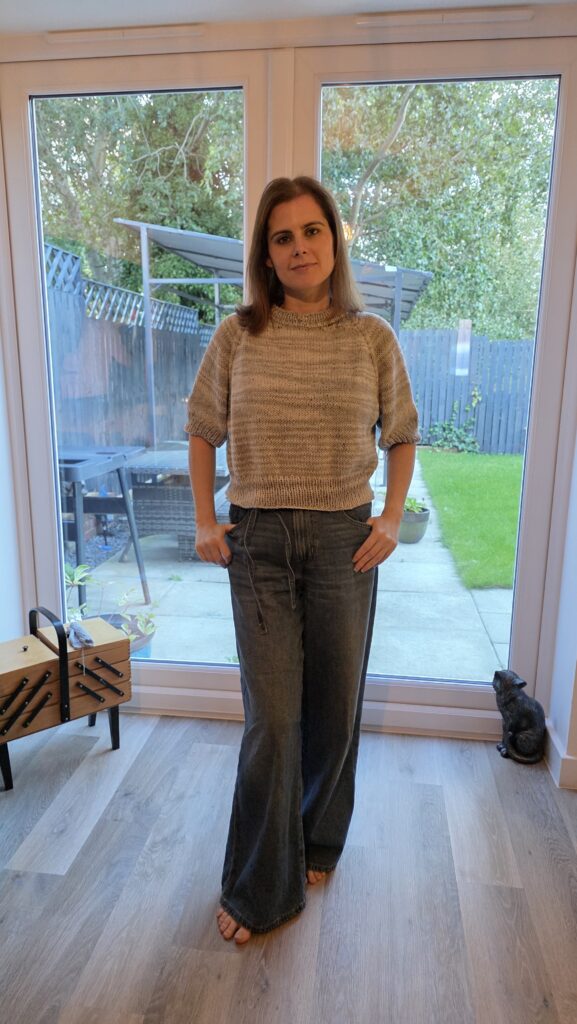
At first, I was worried the jumper was too wide. To block it, I soaked it in warm water, squeezed out the excess, rolled it in a towel, and laid it flat on foam mats. I didn’t pin it as it didn’t feel necessary—just shaped it neatly and left it to dry.
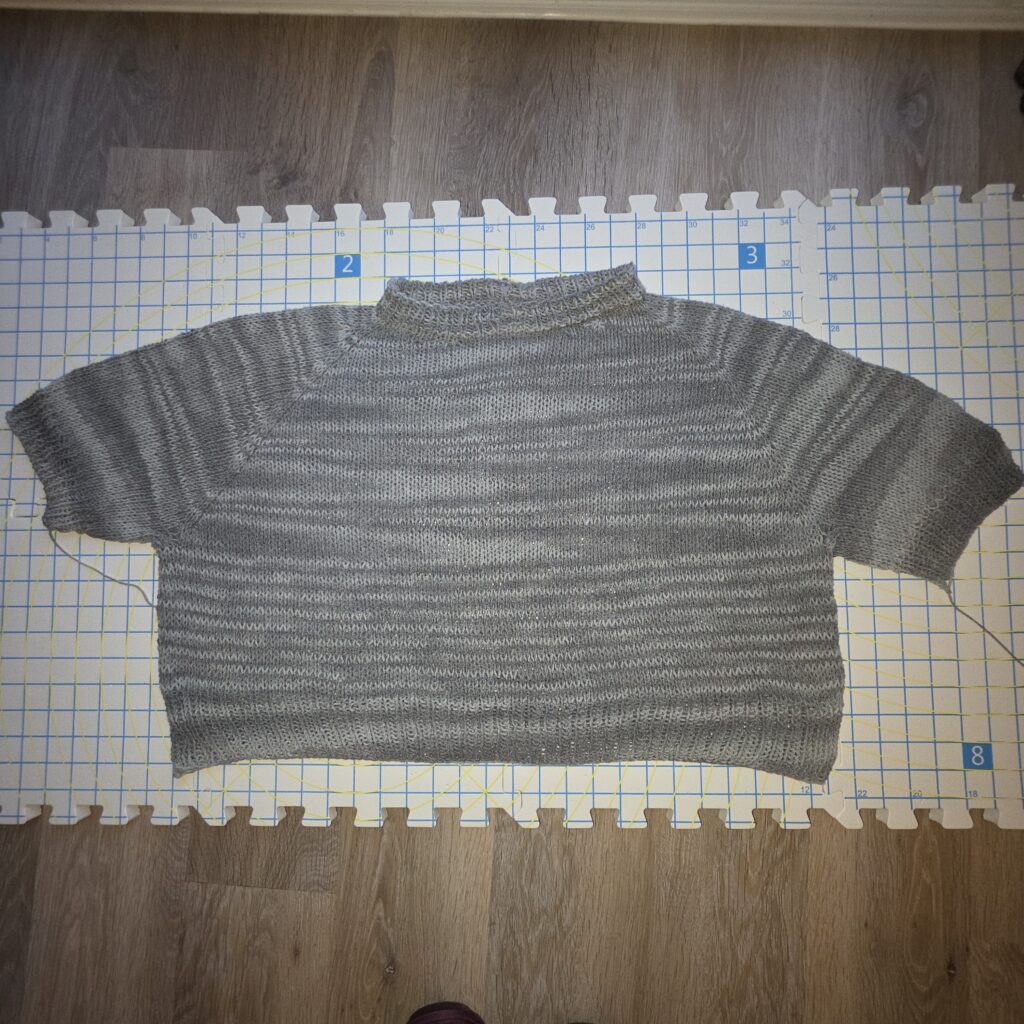
By the next day, it was still damp, so I checked the yarn label. To my relief, it was machine washable and tumble dry safe. I popped it into the dryer with some other clothes and waited nervously. When it came out, the stitches had relaxed beautifully—just like I’d heard knitters talk about on YouTube. It still had plenty of ease, but that’s how it’s designed (15cm, in fact). Best of all, it fit much better.
The very next day, I wore it to work—I couldn’t wait to show Angela and Ellie that I’d finished it already!
Reflections
So, what do I think now it’s finished? Honestly, I’m really pleased. I wouldn’t have chosen this yarn if I were buying specifically for the project, but my goal was to use up stash yarn and learn. It surprised me—in a good way. The cotton blend makes it wearable year-round, especially in a cropped fit. And the fact I can wash and dry it like any other piece of clothing is a huge bonus.
Yes, there are imperfections around the neckline from when I first started. But rather than bother me, they remind me of how far I’ve come in just a few weeks. This is my first jumper, and I made it myself. That’s something to be proud of.
It took just over one ball of Caron Cotton Angel Cake (about 250g), plus a scrap ball for the sleeves. Considering each ball costs around £14—and I’d bought mine in a mystery box for even less—I’d say the whole jumper cost me about £10. And since I bought the yarn two years ago, it almost feels free! Even better, I have four more balls of the same colourway and some in other shades, so now that I know how it knits up, I can make more pieces.
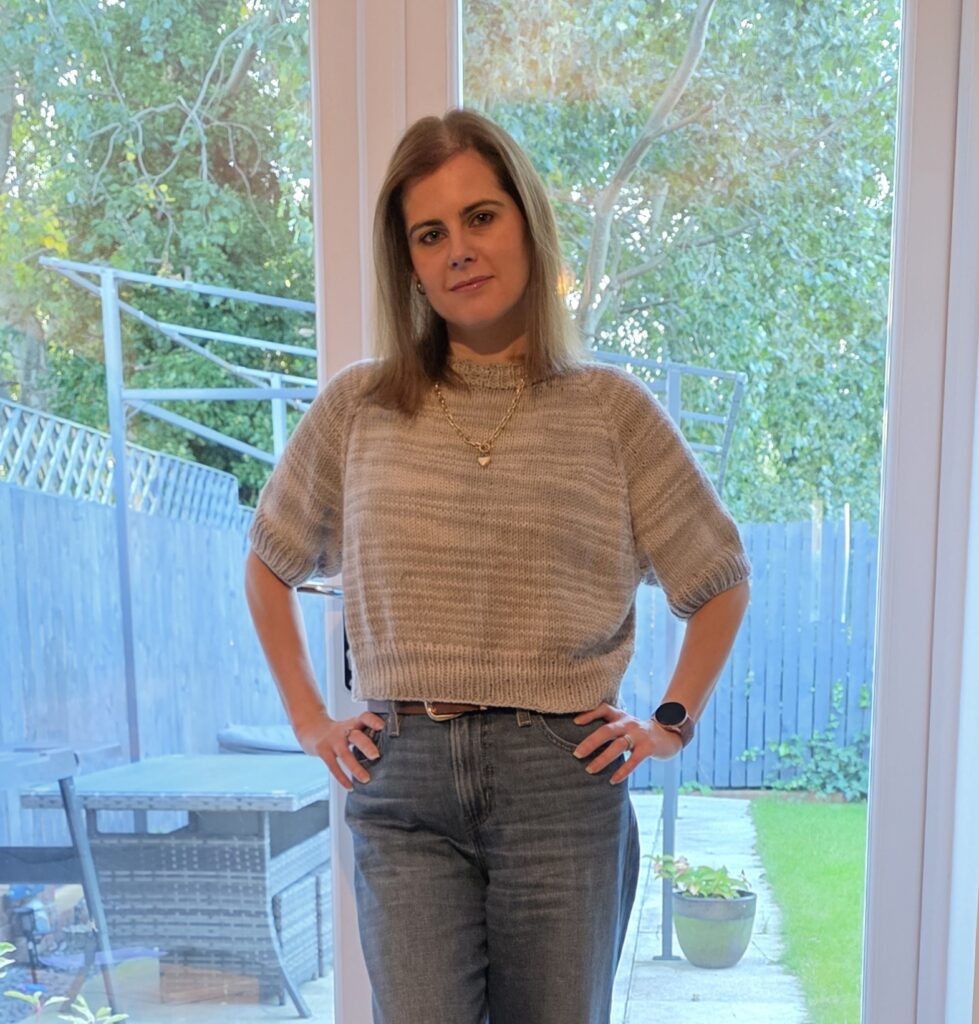
I’ll admit, I lost track of the exact hours, but start to finish it took me just over two weeks—even while working full-time and not knitting every day. I think that’s pretty good going for a beginner.
What’s Next?
Of course, I’m already looking for my next project. I’ve stumbled across the Salty Day Sweater by Kutovakika. It may be far too complicated for me, but part of me thinks—why not? Each section uses a different stitch pattern, which would definitely keep things interesting.
There’s also a full video tutorial to go with the pattern—around an hour long—which I’ve already watched from start to finish. It was so detailed and helpful that it’s given me the confidence that, with patience, I could take it on. The only question is whether I’ve got the right yarn in my stash… though I may end up using the same Angel Cake cotton, since I have plenty!
Stay tuned—I’ll keep you updated with whatever I cast on next.
Knitting Inspiration
If you’re also inspired to pick up your needles, there are so many wonderful knitting magazines out there. Titles like Laine which is packed with patterns, tips, and gorgeous photography to keep you motivated.
👉 Browse knitting magazines here


