

The Future of Independent Publishing: A Conversation with Wanderer
8th September 2025
Part 3: The Finished Sweater — My First Knitted Jumper
30th September 2025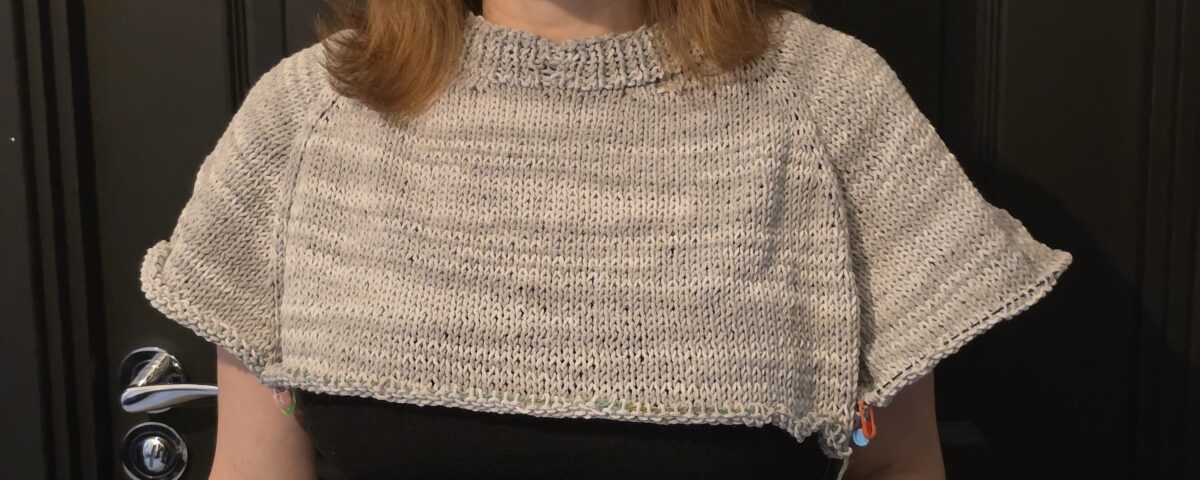
When I finished my last post, I hadn’t quite completed the collar length. Along the way, I made a few mistakes and somehow ended up with extra stitches on the sections I was turning with the magic loop method. I was so disheartened when I realised—I wanted to unravel it all and start again. (If it were crochet, I probably would have, as it’s so much easier to pull back and correct your work.)
But with knitting, that’s not a skill I’ve learned yet. So, I had to talk the perfectionist Virgo in me down and remind myself: this is project number one! There are bound to be errors along the way, and that’s part of the journey. In the end, I managed to decrease a few stitches and finish the collar with the correct stitch count.
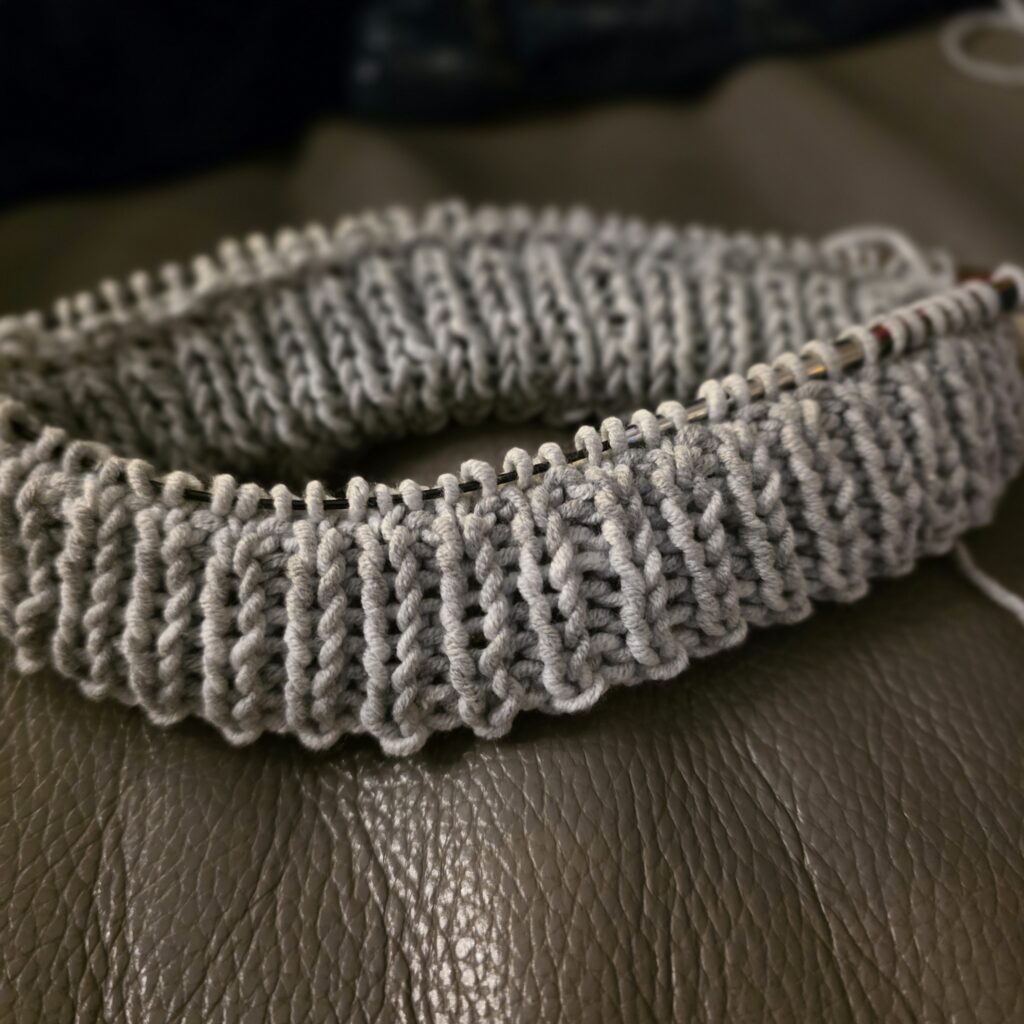
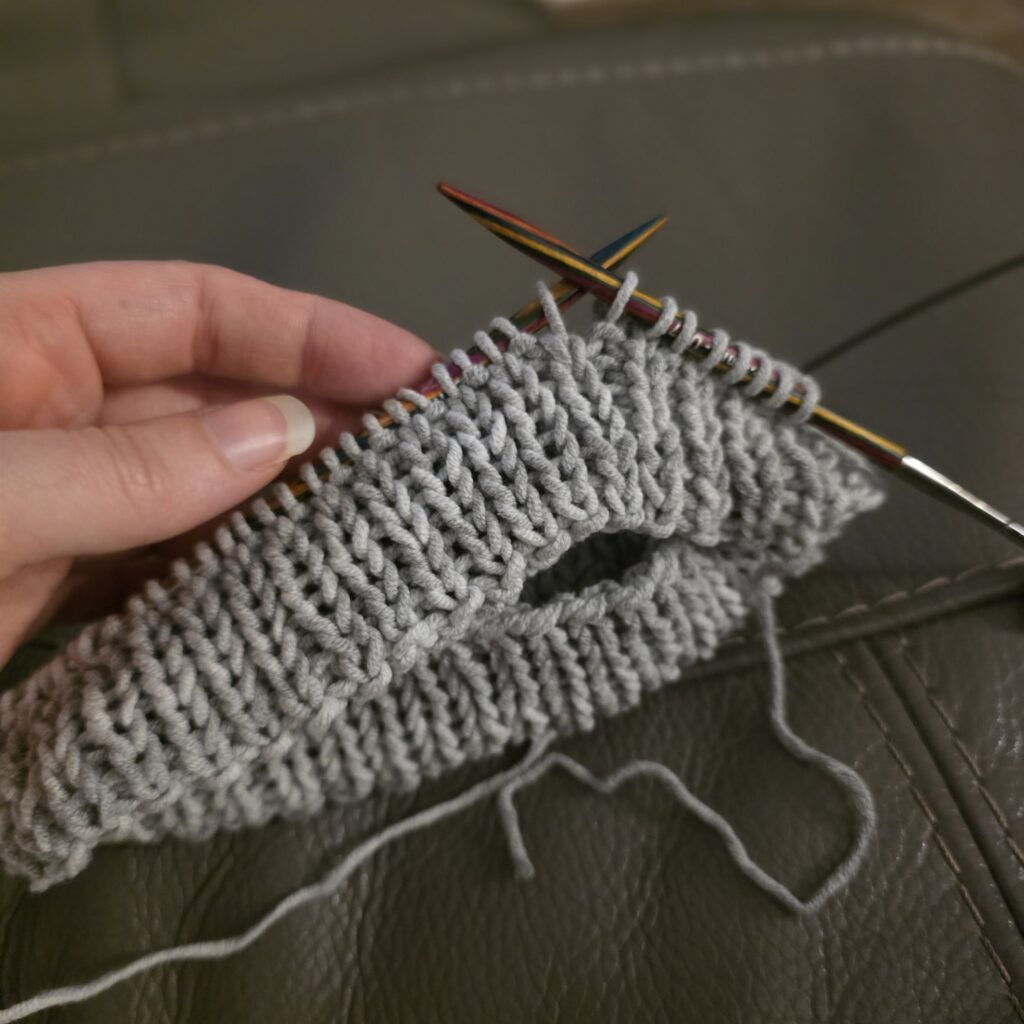
The next stage was to create a folded collar by knitting the live stitches together with the cast-on edge. I watched this part of the tutorial a few times before diving in—I was worried it wouldn’t line up properly. But once I got started, it was much easier than I expected, and I was really happy with the neat, finished effect.
Setting Up the Yoke
With the collar done, the next step was to set up the yoke. This round was simple enough: knitting all the way around while placing markers in the correct positions.
German Short Rows
Then came the part I’d been both nervous and curious about: German short rows. In her pattern, Florence suggests that absolute beginners might want to skip this step, but adventurous beginners should give it a try. That was my cue—why not?!
I’d heard the term before in YouTube videos but never fully understood what it meant. Essentially, short rows add a little extra fabric to the back of the sweater so it sits better at the front and drapes more naturally.
The first section was straightforward: knit to the first marker, then work some increases. These had scary names—M1R (make one right) and M1L (make one left)—but they simply ensure the stitches slant the right way. Then came the turning point: purling back across, passing the beginning-of-round marker, and increasing on the purl side too. Florence describes this as the hardest part of the sweater, and I can see why.
But I managed it! And in that moment, I thought, if I can do this, maybe I really can knit a jumper. After six rows of short rows, it was time to move on to the standard yoke increases.
Yoke Increases
Reaching the yoke increases felt like a milestone. After so many rounds of ribbing, then the challenge of short rows, this section felt more relaxed. The rhythm of knitting with only a handful of increases—and a plain knit round in between—was so satisfying.
Even better, I’m finally knitting comfortably in the round without needing the magic loop. I can already see the jumper starting to take shape, which is so exciting. My next investment will be a set of interchangeable needles with shorter tips—perfect for working collars and sleeves without feeling cramped.
I’m also looking forward to the moment I can try it on and see how the fit is coming together.

Finishing the Yoke
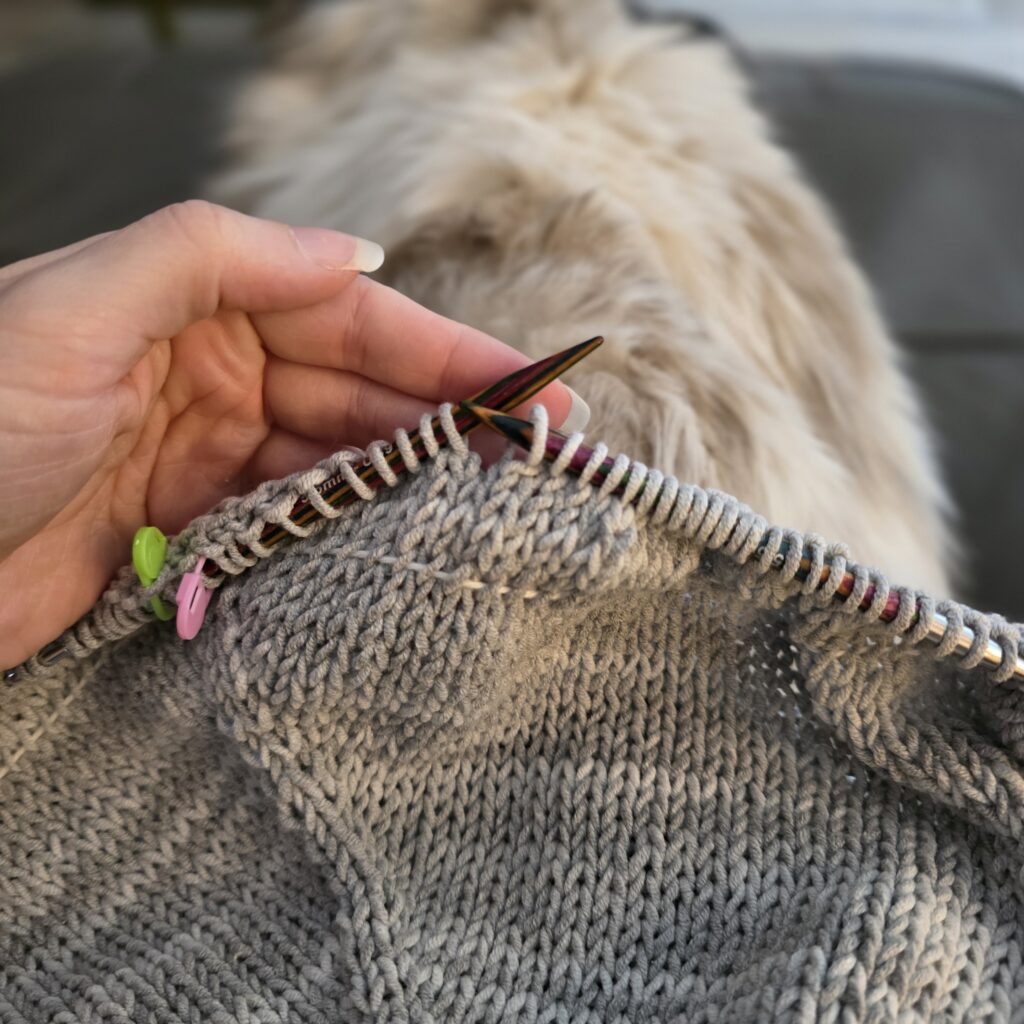
After completing the German short rows, I moved onto the regular yoke increases. The pattern called for repeating rows 1 and 2 twice—row 1 being the increase round and row 2 just knitting all the way around. On paper, it sounded simple enough, but in reality it felt like this section was taking forever.
To keep track, I tried to stop at the end of a knit round so I’d know I needed to increase when I picked it up again. Even so, I often caught myself mid-round wondering, “Wait… which row am I on?” I must have zoned out at times, because I’d get to a marker and have to think carefully about what I was doing.
After a while, I couldn’t resist the urge to try the jumper on. I hadn’t come close to the 50 rows the pattern suggested, but curiosity got the better of me. To do this, I had to transfer all my stitches onto scrap yarn—a fiddly job for a first-timer! I watched a couple of YouTube videos, then just went for it.
The good news? My head fit through the opening. That felt like a win in itself! The fit was clearly too short at that point, and I could only just about join the stitches under my arms, but I reminded myself the jumper is designed with 15cm of positive ease—it’s not meant to be tight.
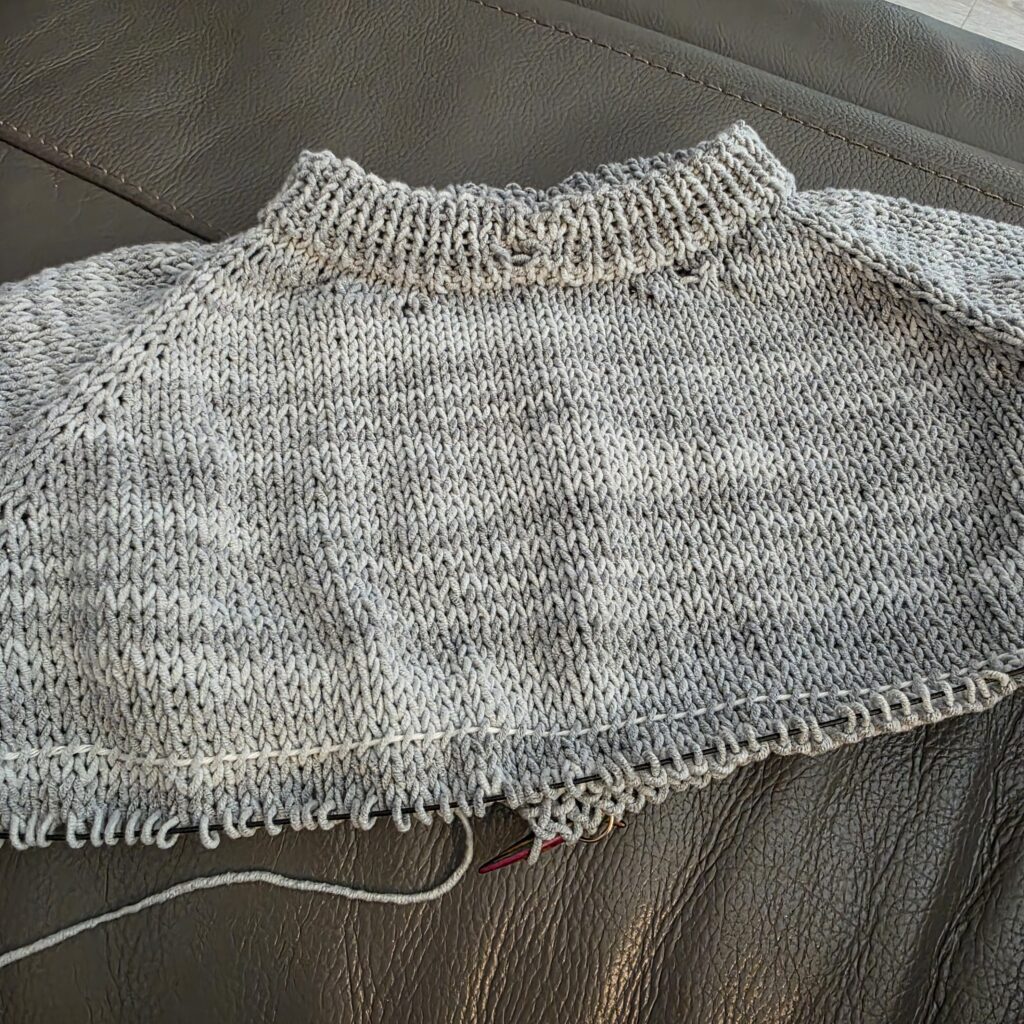
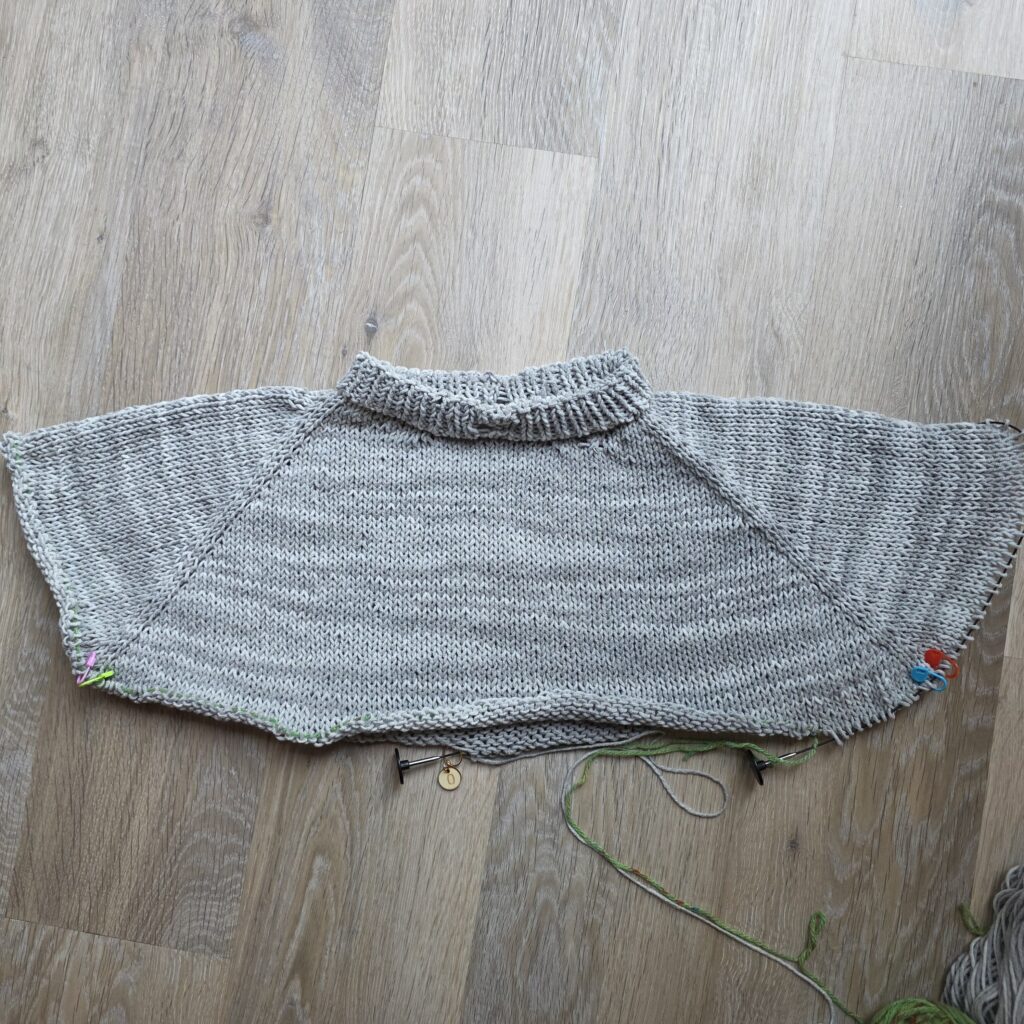
I carried on knitting, determined to reach those 50 rows. When I finally got there, I transferred the stitches again to scrap yarn and tried it on. This time, my worry flipped: now I wondered if it was too big! I’m hoping once the sleeves are joined and the body takes shape, it will sit properly. With no experience of how it should look at this stage, I’m just reminding myself that this is my experiment jumper.

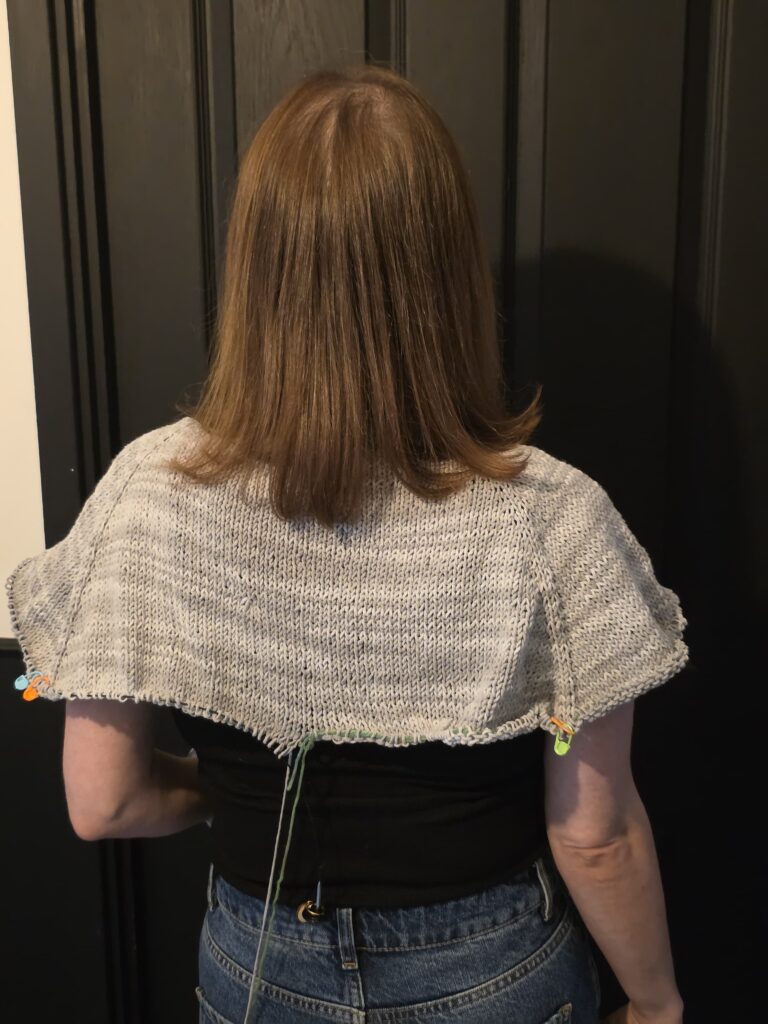
In total, I think the yoke has taken me around 9 hours. That feels like a long time, but I have nothing to compare it to—and I know I’m slower because I’m still learning. I’ve noticed some discomfort in my right hand, and wrapping the yarn around for every stitch can get a bit frustrating. I’ve experimented with a few YouTube techniques for holding the needles differently, but so far haven’t found my rhythm. I think learning to knit continental style might suit me better, as it looks easier to hold the yarn and keep a steady flow.
Despite the frustrations, it’s exciting to see the jumper grow. The little holes and mistakes at the neckline and start of the yoke do bother me—I wish I’d gone back to fix them at the time. But at the same time, this is my practice piece, and I need to love it for what it is: my first knitted garment. Beyond those small errors, the rest of the jumper is looking really nice with no noticeable mistakes.
I’m also really pleased with the fabric. I’ve crocheted with this yarn before, but knitting gives it a completely different look. The grey shades work up into subtle lighter and darker tones, almost like striping, and the drape is lovely. Being cotton, it should be wearable all year round. To finish the yoke, it used about 125g of yarn on 5mm needles, which means I still have around half a ball left from the first cake.
Real Time Knitting Update
The yoke alone has taken me around 9 hours, bringing the project total to about 17 hours so far. It’s been slow going at times, but every new section has taught me something different.
Looking for more knitting inspiration?
Magazines are a fantastic way to discover new patterns, learn techniques, and stay motivated with bigger projects. At Unique Magazines, we stock titles like Laine, Simply Knitting, and more — perfect companions for your own knitting journey.
👉 Browse knitting magazines here
✨ To be continued… Next time, I’ll share what happens after splitting for the sleeves and working down through the body of the jumper.


